You’ve decided to record your first podcast episode. Wait. Read this article first.
In 2020, the podcast audience grew 4 times. Analytics tools became available to authors: age, gender of the audience, geo and number of listens.
Brands launch their audio broadcasts. Even popular video bloggers have started making their own podcasts. This suggests that the format is in demand and growing. Questions “How to make podcasts?” is getting bigger and bigger.
Podcasts are great because the listener can do their own thing and receive content at the same time. If videos on YouTube and TikTok have become personal television, then podcasts have become personal radio.
Over the past two months, the SMMplanner team has created 15 podcast episodes. They turned out to be different in content, design and audience reactions. We want to share experience that beginners will definitely find useful, and experienced podcast creators will find interesting thoughts for themselves.
In this article we will learn how to create a podcast. From idea to distribution. Let’s dive a little into physics, sound engineering, working with programs and find out whether it is possible to create decent quality recordings using a phone and wet wipes.
Podcast idea and how to test its viability
The thought came to mind: “Why don’t I start making podcasts?” And that’s great. You can start without experience, but desire alone is not enough. An idea should be formed and tested for viability.
First of all, write down a list of areas in which you understand or would like to understand. For example:
- Cars.
- World News.
- Shoes.
- SMM.
- Furniture.
- Medicine.
Just write down the nouns that come to mind when asked this question.
Next, leave only those topics that you can discuss in any weather and emotional state.
A podcast is about voice communication with listeners. Even if it’s one-sided. Therefore, we focus on the desire to discuss. And check the boxes.
Now let’s narrow it down. We have fewer spheres left. We form ideas. We need to check how popular they are in podcasting. How to do it? Yes, everything is on the surface – we search in Yandex. Music podcasts in our field. Let’s say we wanted to talk about the history of passenger car production. Here’s what you can find on the service:
We pay attention to the number of authors, listens and likes. There will be several dozen of them in a popular topic. This is how we check to what extent your podcast idea can be in demand among listeners.
We decided on an idea. What’s next? Run to sign up for a studio? No, where do we get our studio from?
Now we need to choose a format, concept and create a content plan.
Podcast formats and concept
Remember talk radio shows? Podcasts are about the same in terms of conversation formats:
- Linear broadcast (one presenter, monologue).
- Dialogue (with co-host or regular guests).
- Polylogue (more than two people on record).
- Radio play (there is this one too).
There is also a division according to broadcast frequency: daily, weekly, monthly releases.
It is not written anywhere that you need to stick to one format. At the start, it is more logical to start with linear releases in order to depend only on yourself.
We’ve sorted out the format. Let’s move on to the concept of our podcast. It should describe how the idea will be revealed in one sentence.
“Podcast about production” – an idea.
“A beginning producer talks about how rock is developing in southern Kazakhstan” – concept.
“Podcast about cars” – an idea.
“An experienced car enthusiast helps beginners choose their first car” – concept.
The idea energizes you, the concept does the same to the listener. Essentially, this is a global answer to the question “What are podcasts and why are they needed?”
In the final, we need to draw up a content plan – collect topics and main points for the first 10 issues and create a schedule for their release. Without a minimum plan, enthusiasm may fizzle out after the first release.
General rules for recording
There are different ways to record podcasts: from renting a studio and hiring a professional outsourced sound engineer to recording on your phone under a blanket and editing in an app. In our case, when we are completely “green,” home recording with a simple microphone or telephone will do. But the general rules of recording need to be understood from the very beginning.
When recording, turn off all notifications in instant messengers and turn on silent mode on your phone.
No background music or external noise in the room. This is difficult to remove during installation.
The audio receiver should always be in a static position. Otherwise, you will unwillingly demonstrate to your listeners the Doppler effect – the sound of a train passing by.
The sound source (you) is at an equal distance from the receiver. Practice shows that a distance of one and a half palms is sufficient. But this still needs to be tested.
Keep echo in the room to a minimum.
Always adjust the microphone sensitivity level before recording.
Record only in mono mode, not stereo.
We’ll go deeper into all of this later.
Phone and microphone. How to record a podcast with them?
Yes, everything here looks more like an experiment. When listening, you can understand that it is possible to record on the phone at an acceptable level. Only the microphone on the device will cut off the frequencies of the voice when recording, and it is virtually impossible to “extract” the maximum volume from the audio track. Interference and other artifacts will come out.
Phone recordings were made as follows:
- I put the device on the shelf of the closet in the hallway. There is minimal sound reflection in this room in my home.
- The phone was placed just above the level of the mouth; I used a towel and a scarf to dampen any reverberation.
- Cheap and cheerful, but quite suitable for the first experience.
The recording was made using the Hi-Q application. There you can adjust the microphone recording level and save files in .wav format (more on that later).
In addition to the lack of fullness of sound, there was a problem with logistics. From a bunch of takes, it was necessary to select the best ones, export them to a computer via Telegram, and only then edit them.
After a month of experimentation, a simple condenser microphone appeared.
It connects via USB cable and does not require a sound card. The package includes a stand, a spider (microphone holder), a windshield and the microphone itself. I chose the model based on budget and reviews on YouTube.
I experimented with the position of the microphone and head and found the optimal position in the house, which allows me to get a fuller voice color. Obviously higher than when recording on a phone.
The first 40 seconds of the episode were recorded on a microphone. This is how things work now.
Two pieces of foam reduce reflection. The microphone itself is located just above the level of the mouth so that low frequencies of the voice are recorded. The hallway space itself is like a cubicle.
A life hack for recording with a microphone – place a photo of a loved one in front of you, at eye level, and look at it while broadcasting. With this technique it is possible to achieve the effect of a narrator in the voice.
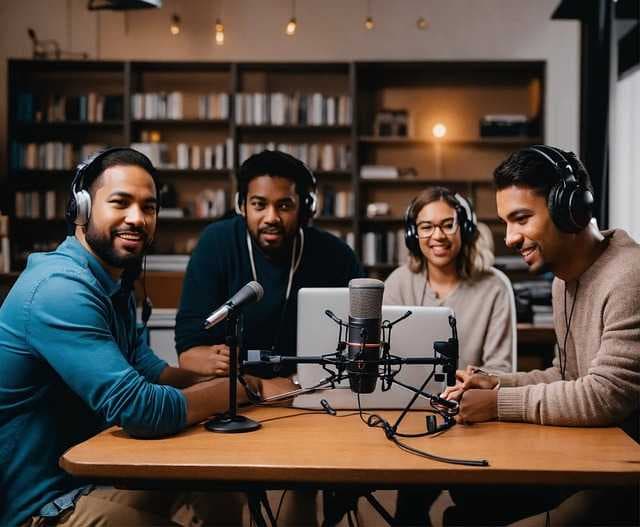
Room acoustics
“The voice is out of breath” and “a lot of echo” in the recording indicate that the room needs to work on the acoustics. Don’t worry, we will do everything with home remedies.
When we throw a stone into a large puddle, waves spread across its surface. This is roughly how the sound source and medium work. Only already in the air. If we limit this puddle with a wooden frame and throw a stone again, then the waves will also spread and be reflected from the sides.
So here it is. Our room is that same puddle in a wooden frame. And so that the reflections of the waves do not interfere with us, we need to place the maximum number of obstacles. Recording studios use acoustic foam, bass traps, and a bunch of other things.
In an ordinary apartment, sound is reflected from the walls, floor and ceiling. Lost due to open doors. What can reduce reflections:
- Cushioned furniture.
- Carpet on the floor.
- Thick curtains.
- Screen.
- Bookshelves.
- A wardrobe.
Ideally, create a separate corner at home for writing. First, use clapping to find an area of the room with minimal reflection. Put a microphone there, install a screen, and curtain it with a blanket.
In practice, there are cases when the author of the podcast recorded in the closet. Do not do it this way.
And now it’s time to make the first issue.
How to prepare for a podcast release?
Preparations for release take place in three directions. The first is the content of the release. The second is physiology. Third is technical training.
Contents of the issue. Podcasts are about communication. Therefore, there is no need to write out a script for reading. Listeners will notice that you are reading rather than speaking. No matter how hard you try to present the finished text. Write down the main points or topics that you want to voice.
Physiology. Recording the release is a load on the vocal cords and the speech apparatus as a whole. Before each release, speech therapy warm-up and breathing exercises should be done. This way, you will be less confused in your pronunciation, and your voice will sound thicker.